
With Power Reports in Dentrix Ascend, you can dive deep into your data to find insights into ways you can improve your practice. Sometimes, these reports can return an overwhelming amount of information. Using filters can help you narrow the scope of information in a report. Read on to learn how to set up a filter on any field in a Power Report.
There are two types of Power Reports in Dentrix Ascend: Analysis and Interactive. We’ll show you how to add a filter to both report types.
Filtering an Analysis Report
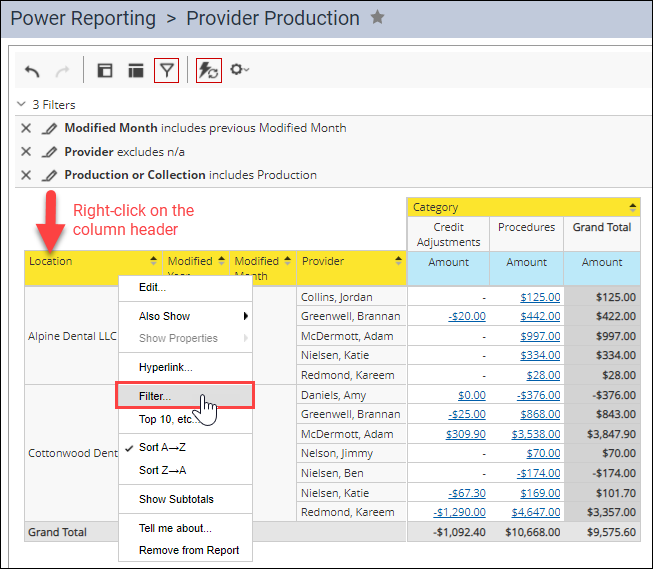
In this example, we will use the Provider Production report. We will filter the Location field to only include one location.
- In the report, right-click on any column header. Then, select Filter.
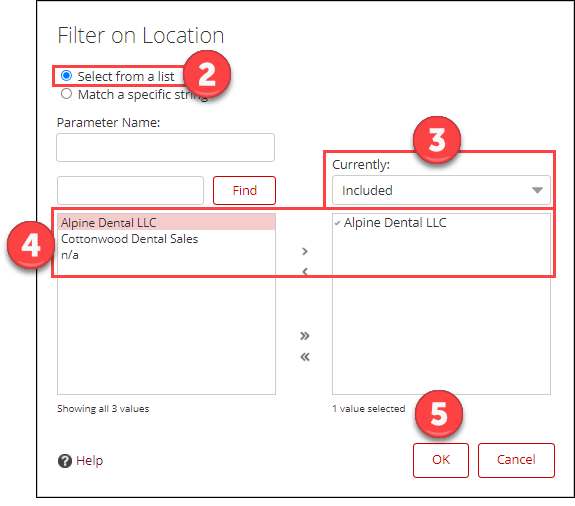
The filter dialog box opens. The options in this box change according to the field that you are filtering.
- Choose Select from a list.
- From the Currently drop-down, select Included.
- Double-click the item(s) in the left list that you want to include to add them to the Included list.
- Click OK.
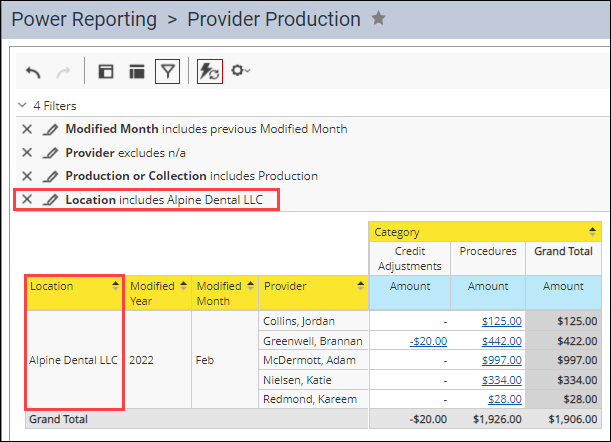
The report and filter panel update to reflect the change.
Filtering an Interactive Report
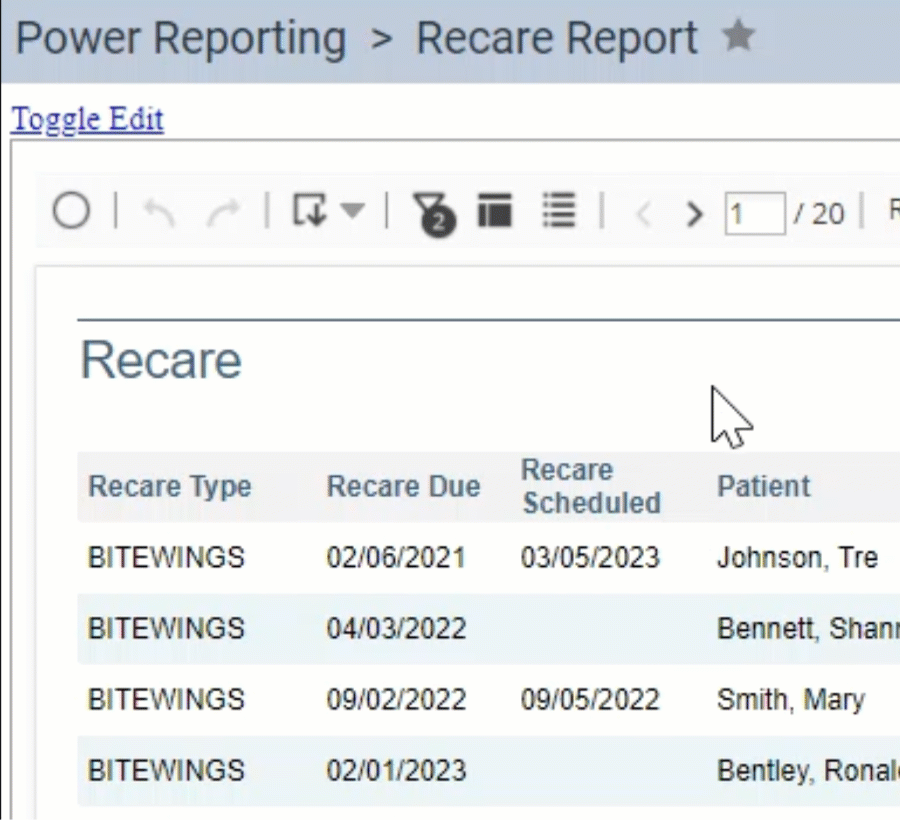
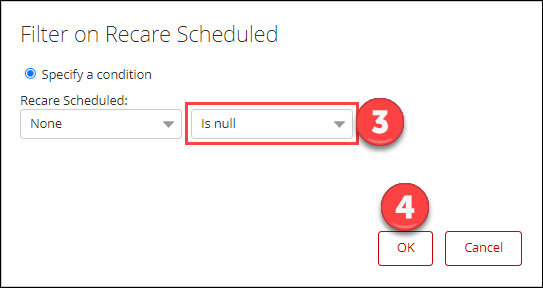
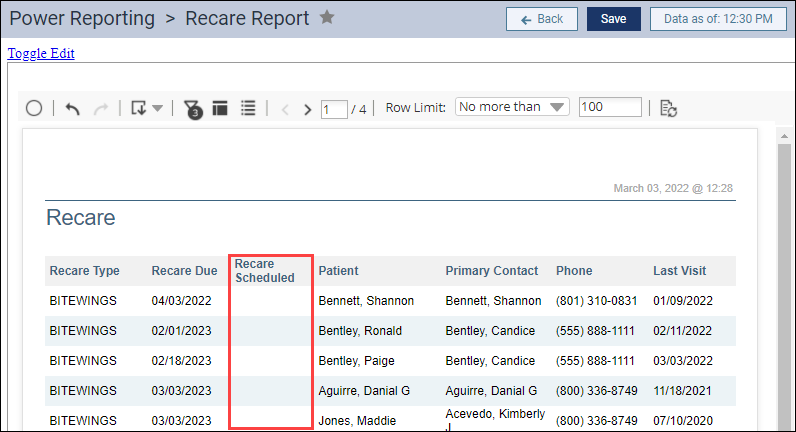
In this example, we will use the Recare Report. We will filter the Recare Scheduled field to only show patients who do not have recare scheduled.
- In the report, click the column header dropdown.
- Click Filter.
The filter dialog box opens. The options in this box change according to the field that you are filtering.
- From the second drop-down list, select Is null. (Is null means that the field is blank.)
- Click OK.
The report updates to reflect the change.
Additional Information
- To learn more about filtering Power Reports, watch Using Filters in Power Reporting in this series of webcasts in the Dentrix Ascend Resource Center.