
April 22, 2020
You may sometimes be in a position where you want to delete an image from a patient’s record. Perhaps you acquired an image on the wrong patient record, or perhaps the image is blurry. This article shows you how to delete a single image or a series of images.
How to:
1. Use the Patient Search box to access a patient’s record and click (or tap) Imaging under the Clinical section.

2. Click (or tap) Show Image History on the Imaging dropdown menu.
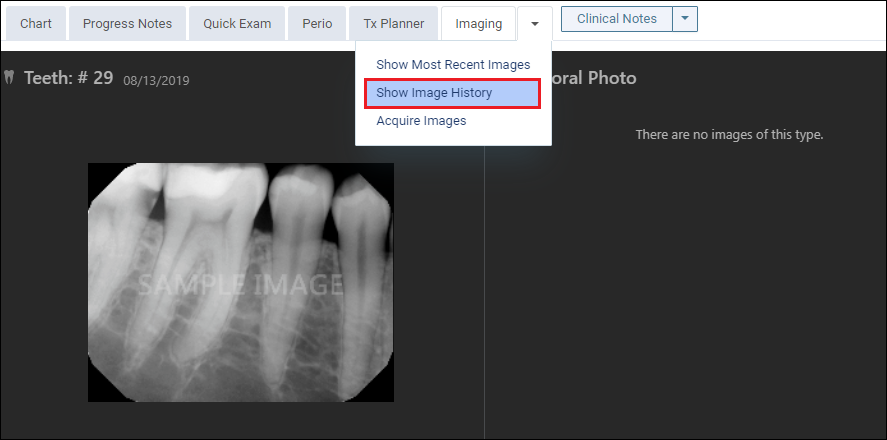
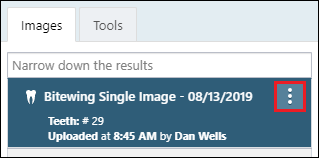
The patient’s imaging page opens to the history view, and the most recent image or series (such as a full mouth series or bitewings) is selected by default on the Images tab.

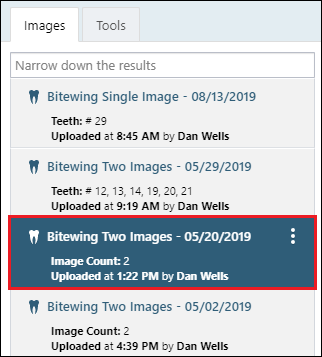
3. Select the image or series (such as a full mouth series or bitewings) that you want to delete.
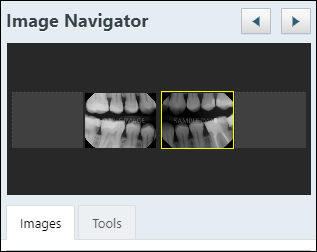
4. If you want to delete a specific image of a series, click (or tap) the image you want to delete in the Image Navigator. A yellow border highlights the selected image.
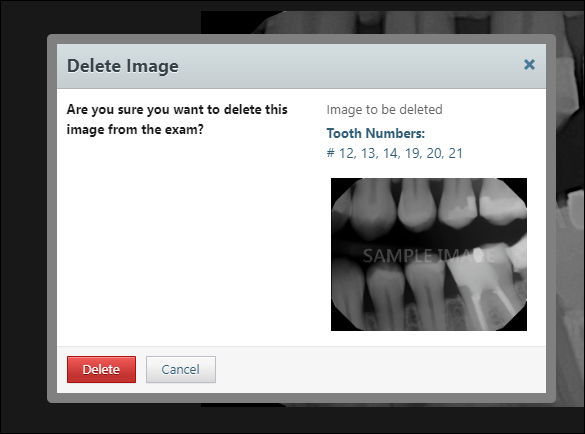
5. Click (or tap) Delete to delete the selected image.

A prompt appears to confirm the deletion of the image.
6. To delete the entire series or the exam with one image, click (or tap) Delete Exam from the dropdown menu.
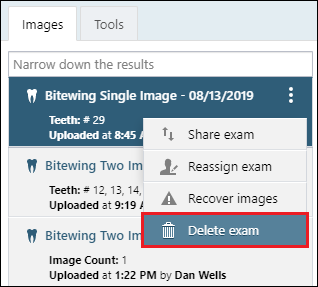
The Delete Exam confirmation message appears.
Additional Information:
- You cannot delete images attached to an insurance claim.
- Each recorded exam must contain at least one image. Therefore, to delete an image from an exam that has only one image recorded, you must delete the exam.
- The procedures associated with the deleted images will also be deleted or voided if they are older than 120 days.
- To learn more about deleting images, read Deleting Images in the Resource Center.