
February 19, 2020
After attaching a lab case to an appointment, the next step is to change the status for each from Outstanding to Received when the lab case arrives from the dental lab. You can do this in two ways, either by going to each appointment in Calendar or to the Lab Cases page. The Lab Cases page conveniently displays the outstanding and received lab cases that are attached to appointments for a specified day or week, which can save you time when multiple lab cases arrive at one time. Having the ability to verify that a lab case has been received before the patient arrives for their appointment can help avoid awkward or embarrassing situations.
How to:
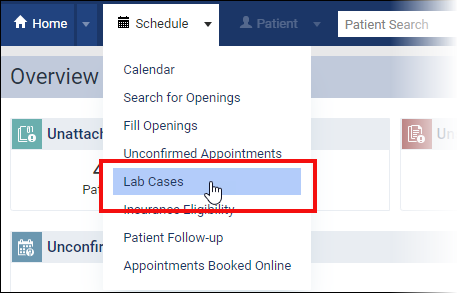
- When lab cases arrive from the dental lab, you must change each lab case status from Outstanding to Received in Dentrix Ascend. To begin, open the Lab Cases report. Click Schedule > Lab Cases.
- On the Lab Cases page, navigate to the day or week of the appointments for which you want to track outstanding and received lab cases. This corresponds to the lab case Due Date in each appointment.

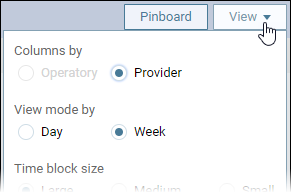
- Click the View dropdown on the Lab Cases page and change the view mode to Week to view the list of scheduled lab cases expected for the indicated week.
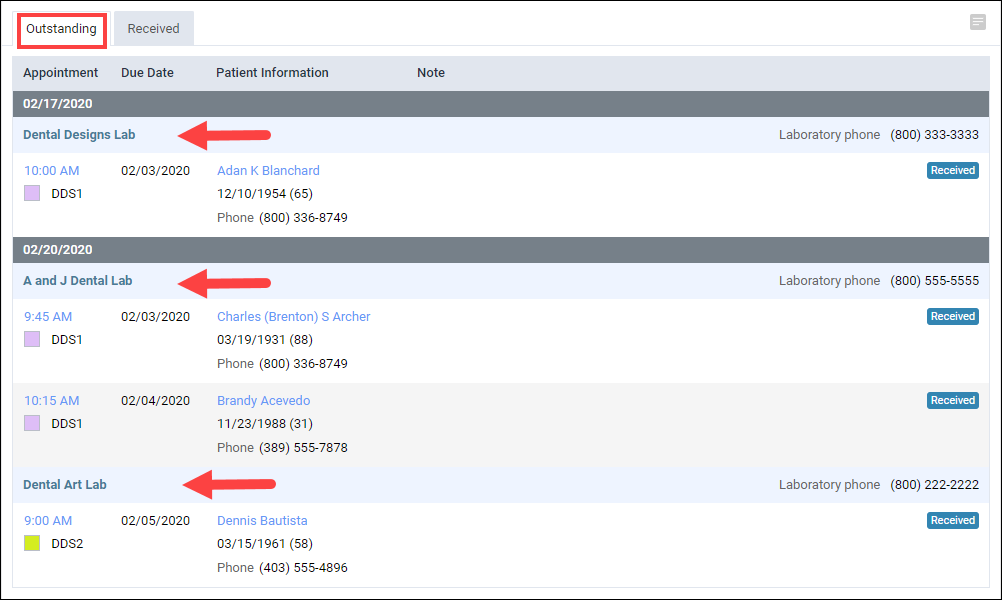
On the lab Case page, appointments are grouped by date and then by lab, and then they are listed in chronological order.
Until the lab case is received, a patient’s appointment appears on the Outstanding tab.
- Click Received to indicate that the corresponding lab case has been received.
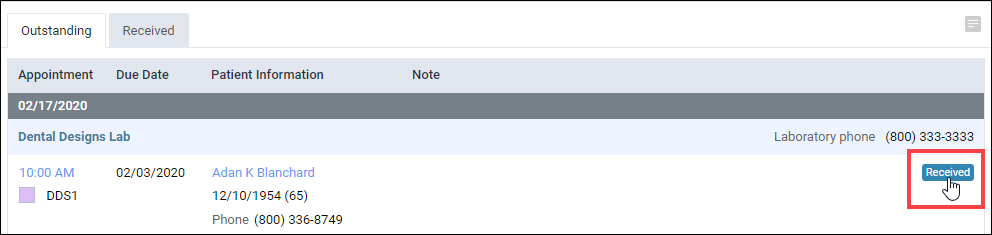
The lab case moves off of the Outstanding tab and moves to the Received tab.
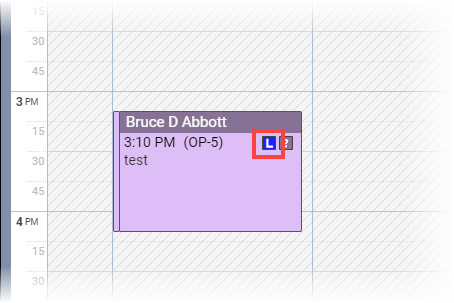
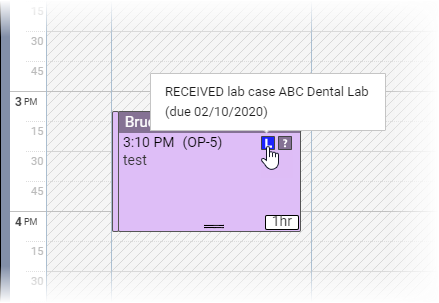
On the Calendar, the lab case icon changes from a blue L on a white background to a white L on a blue background to reflect the Received status. You can also see the status when you hover your cursor over the appointment.
Additional Information
- If you received just one lab case, you may find it easier to open the patient’s appointment, click on the Lab Case tab and to set the Status to Received. To learn more, read Updating lab case statuses for appointments.
- You can filter the Lab Cases list to only show appointments for specific providers, by selecting the desired provider(s) from the View button menu.
- If you make a mistake, you can change the status of a lab case back from Received to Outstanding, by clicking Outstanding in the Received tab.
- To learn more on working with lab cases, read Managing Lab Cases.
- To learn more about adding a lab case note to the patient’s appointment, read Attaching Lab Cases to Appointments.