Dentrix Ascend helps you avoid awkward situations where the patient shows up for an appointment and the lab case is not back from the lab yet. It does this by providing a place to add a lab case note to the patient’s appointment. With lab tracking, you can see right from the patient’s appointment what lab the work went to, when you expect it to return, and whether it has arrived. Gone are the days of awkwardness and lost production!
How to:
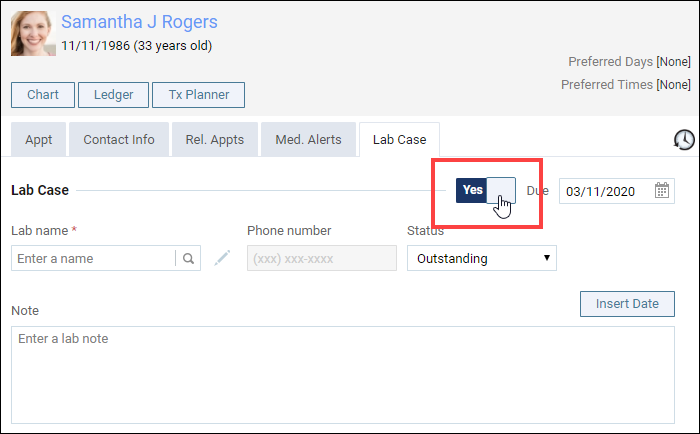
When you are scheduling the patient’s return visit for placement or installation of the lab work, click to open the Lab Case tab.
Toggle the Lab Case switcher to Yes to open the lab case fields.
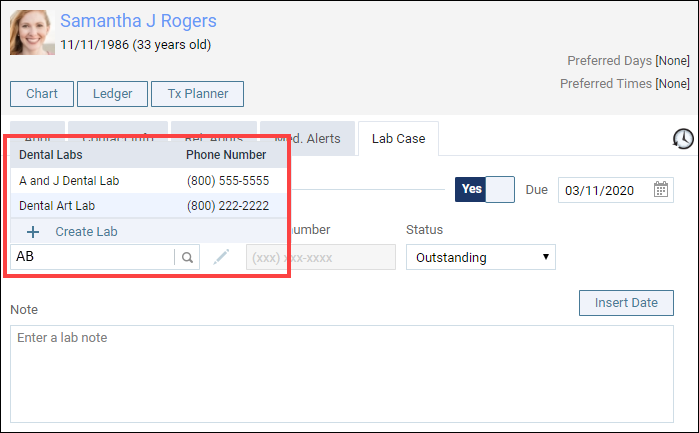
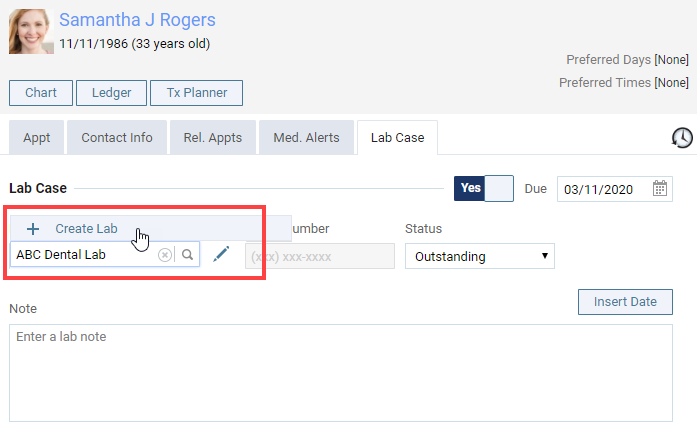
Start typing in the Lab name field to find and select an existing lab. If the lab name does not exist, type the name and click Create Lab.
If needed, use the Create Lab dialog box to enter lab contact information and click Create.
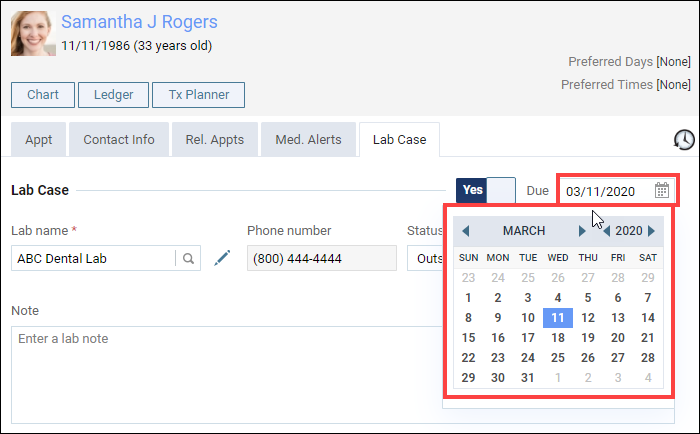
Click on the date picker to select the Due date when the lab case should be back from the dental lab. Click Save.
The appointment now has an icon to indicate that a lab case is attached, and when you hover your cursor over the appointment, the lab status shows.
Additional Information
You can add a lab case to an existing appointment by opening the patient appointment and entering the lab case information to begin tracking the lab case.
The icon for an outstanding lab case is a blue L on a white background.
Click Insert Date to automatically enter today’s date in the Note section, and type any notes relative to this lab case, if needed.