
“Treat and complete” is not just a catchy phrase in Dentrix Ascend; it represents task automation, which means the software intelligently does work for you so you can be more efficient. You can take advantage of that intelligence to reduce the likelihood of rejected insurance claims. When you use the treat and complete feature, the insurance claim will show the diagnosed condition and the treatment you completed.
How to:
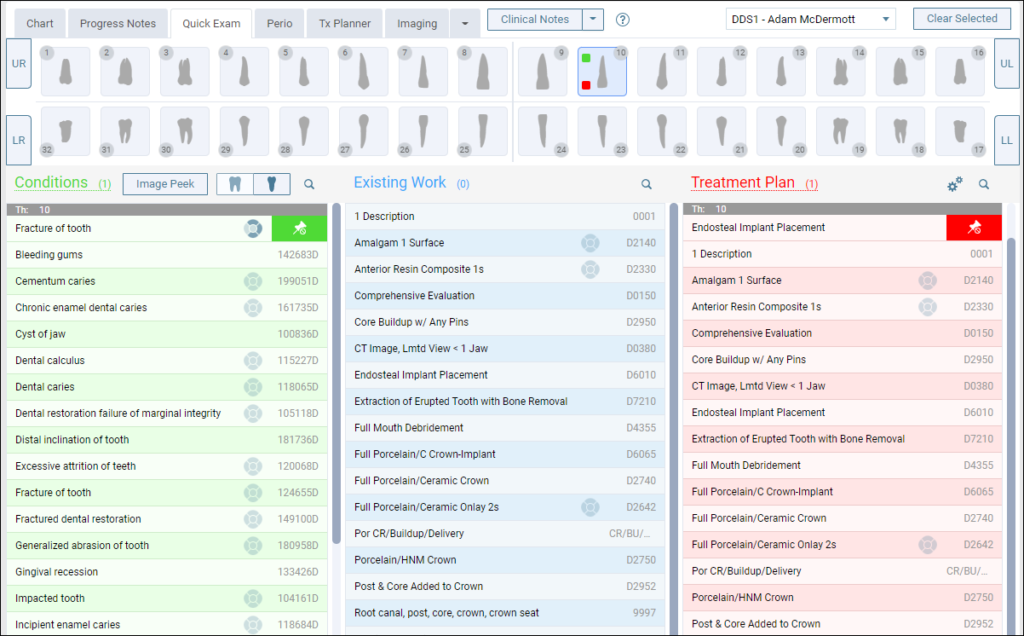
- Chart the patient’s conditions and plan the treatment using Quick Exam. If you haven’t yet started using this feature when conducting an exam, you’re really missing out on a more efficient charting workflow. Read more about this feature before going any further.
- When you complete treatment, mark the corresponding condition as treated. There are two places to do this: in the Progress Notes and in the Routing Panel.
This is how it appears in the Progress Notes:
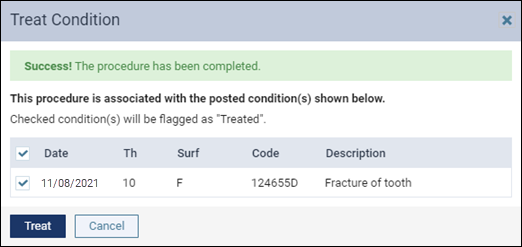
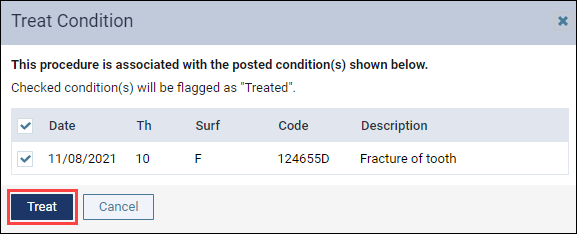
When you click Complete, the Treat Condition dialog appears. Click Treat to ensure that the diagnosis code and description show on the insurance claim.

The status of the procedure shows as Completed. The status of the condition shows as Treated.

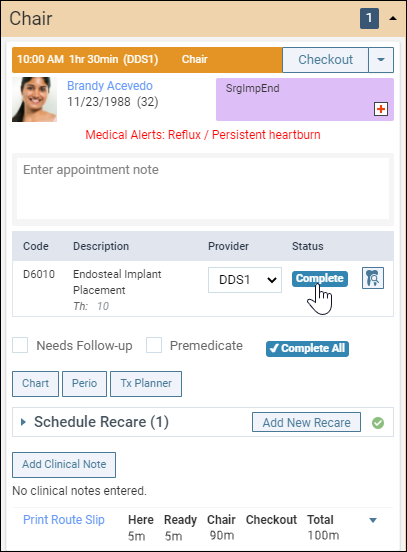
This is how it appears on the Routing Panel:
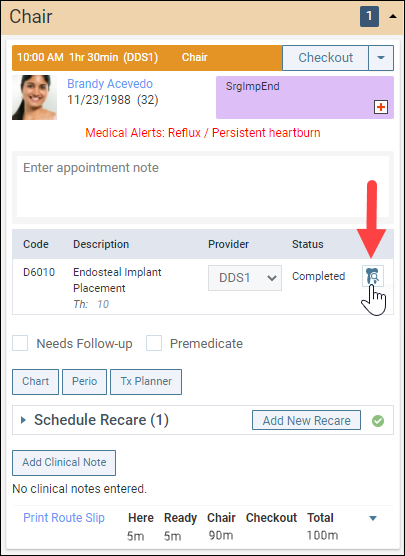
After you click Complete, you must click the Treat condition icon. The Treat Condition dialog will appear, and you must click Treat to ensure that the diagnosis code and description show on the insurance claim. You will not be prompted to click this icon.
Note: The Treat condition icon only appears in the routing panel when you enter the condition using Quick Exam. If you do not see this icon, this indicates that the condition was entered in the patient’s Chart.
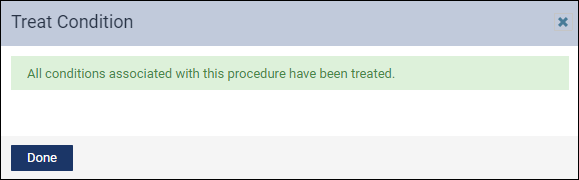
A green message appears to confirm that all conditions associated with the procedure have been treated. The Progress Notes automatically update to show the procedure as Completed and the condition as Treated.
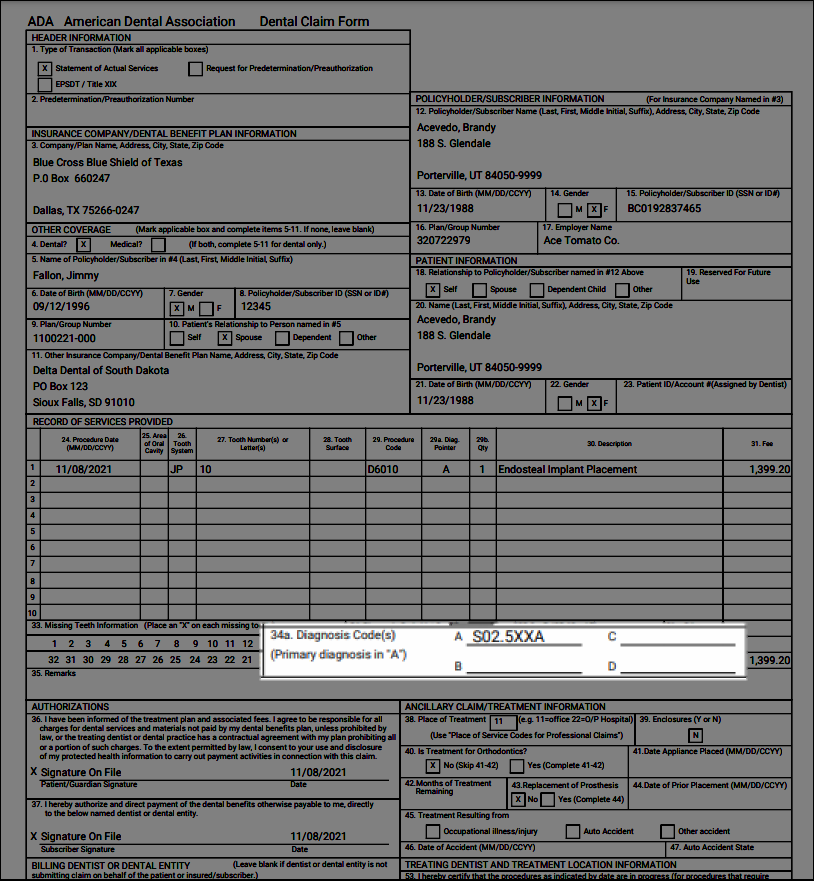
If you have successfully used the Treat & Complete feature as described above, the insurance claim will include the diagnosis code.
Additional Information
- To learn more about posting and completing procedures in the routing panel, watch Completing Procedures.
- To learn more about customizing the settings in Quick Exam, read Linking conditions to procedures.
- To learn more about using Quick Exam to chart an exam, watch Quick Exam.