
The office schedule is a fluid document; dental appointments are constantly in flux as patients or even providers reschedule. You are probably used to last-minute changes. So, it should come as no surprise that the provider originally associated with an appointment may not be the one to complete the procedures. When this happens, Dentrix Ascend makes it easy to select the rendering provider before you complete the appointment.
Here’s how:
- Use the routing panel to track each patient visit. This is best practice for getting the most benefit out of the Dentrix Ascend schedule. If you haven’t started using this feature yet, watch Using the Routing Panel for Patient Check In.
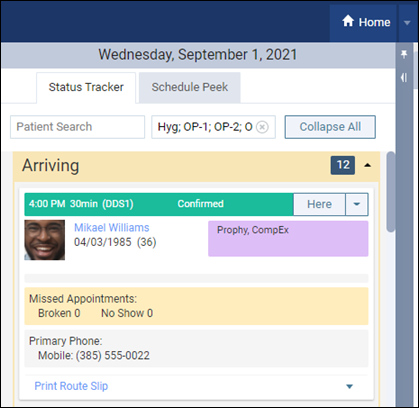
- When the patient gets to the Chair or the Checkout status, look at the provider attached to the procedures.
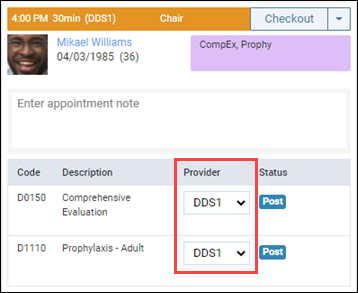
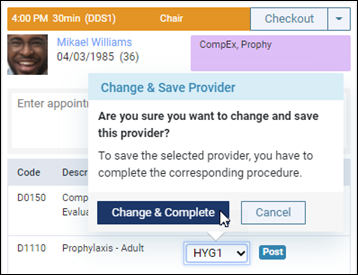
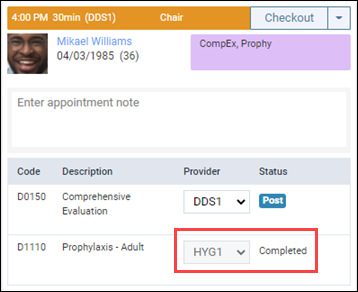
- If the rendering provider is different from the planned provider, simply select the correct provider from the Provider list for each procedure. For a scheduled procedure that was not treatment planned, when you select a different provider from the list, a Change & Save Provider pop-up asks you to confirm the change and complete that procedure.
Additional Information
- If you select a provider other than the appointment provider, and that new provider has a different fee schedule, the new provider’s fee schedule should be used for the procedure when it is posted complete.
- You can only change the provider for one procedure at a time (no group changes).
- For treatment-planned procedures, if you change the provider in the patient Progress Notes, that change is automatically reflected in the routing panel. The opposite is also true: updating the provider in the routing panel automatically updates the Progress Notes.
- To edit the provider attached to a procedure, your user role must have the Edit Patient Procedure right.