
We’re all thinking of ways to improve our production. Reserving time for your high-producing procedures in your schedule helps you and your team meet your daily production goals. Dentrix Ascend allows you to add visual elements called “time slots” to your Calendar. Adding time slots helps your scheduling staff know exactly where procedures should be booked so that you can achieve your production goals.
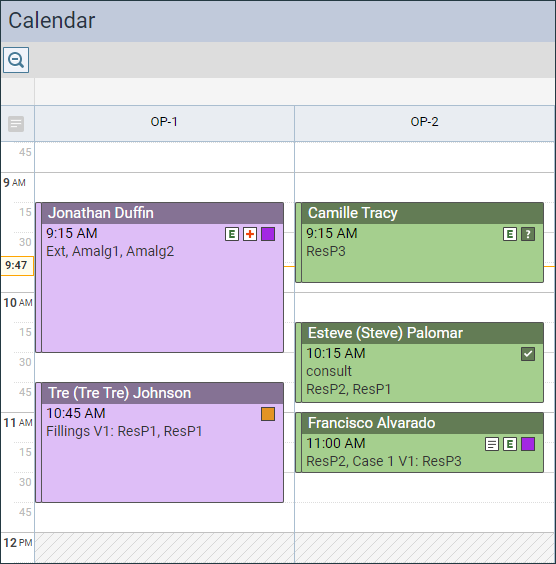
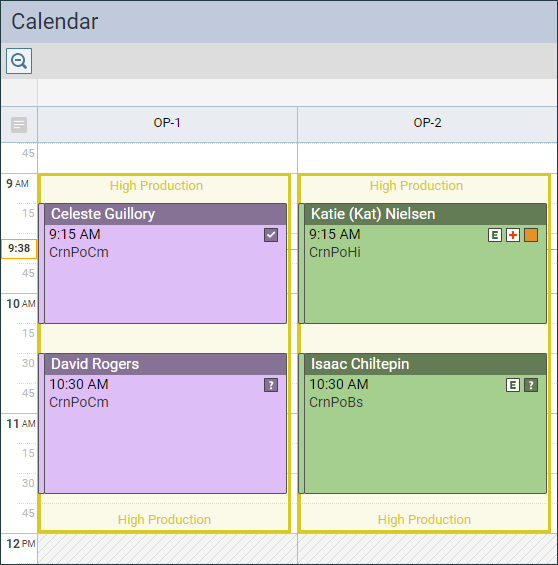
To illustrate, here are two views of the same schedule: one without time slots defined, and one demonstrating out how the day should be scheduled.
How to:
- To add time slots, from the Settings menu, click Schedule Template.
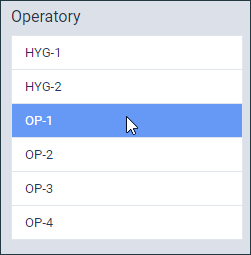
- Select the first operatory that you want to add a time slot in. (You will be able to quickly copy your time block to other operatories after you first build it.)
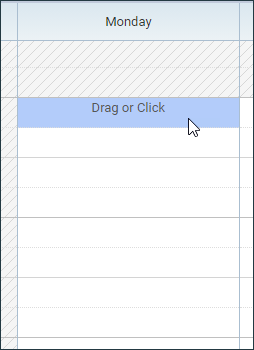
- Select a day of the week, and then click a time or drag from the start time to the end time for that time slot. For example, if you want to reserve Monday from 9 AM to 12 PM for high production scheduling, drag to capture those three hours.
The Time Slot dialog box opens for that day and time frame.

- Give this time slot a title, and select which providers should be booked for high production during this time slot. Select a unique color for this time slot so it contrasts on the schedule with other time slots you might create for low production or emergency appointments.
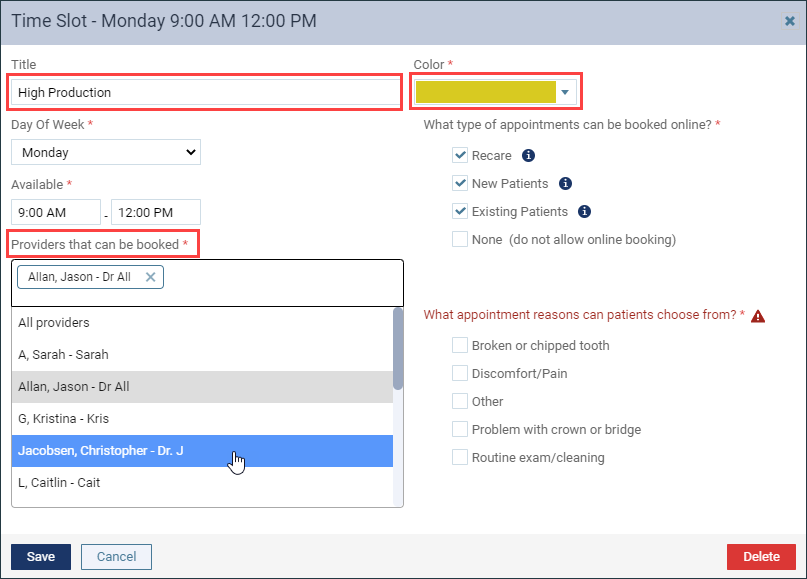
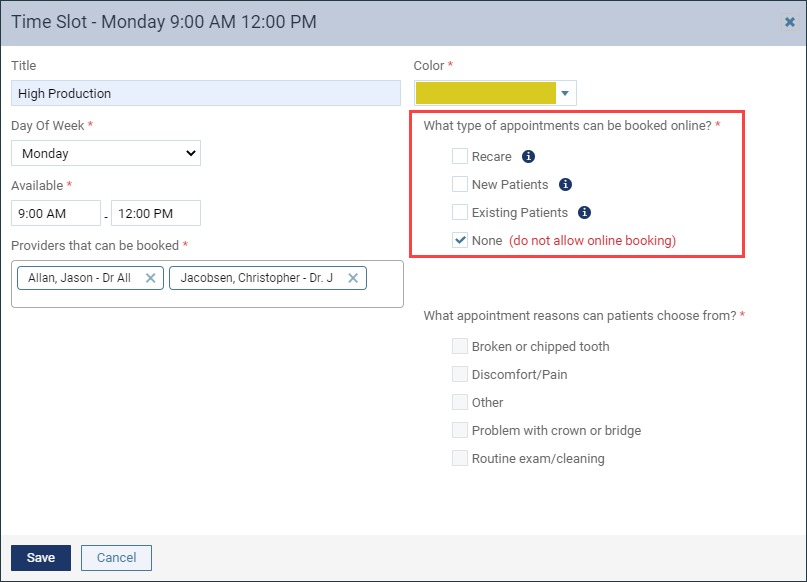
Time slots serve a dual purpose. Not only do they highlight your schedule, but you can use them to configure your online booking, which is outside the scope of this post. For now, select None (do not allow online booking). Click Save.
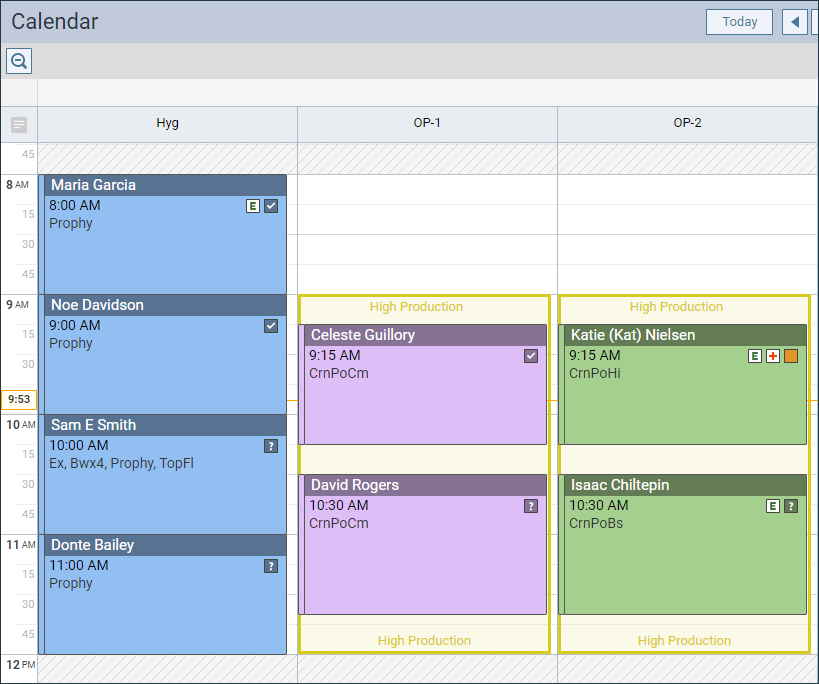
This is how the time slot looks on the Schedule Template page. Notice how the operatory now has an M for Monday on it.
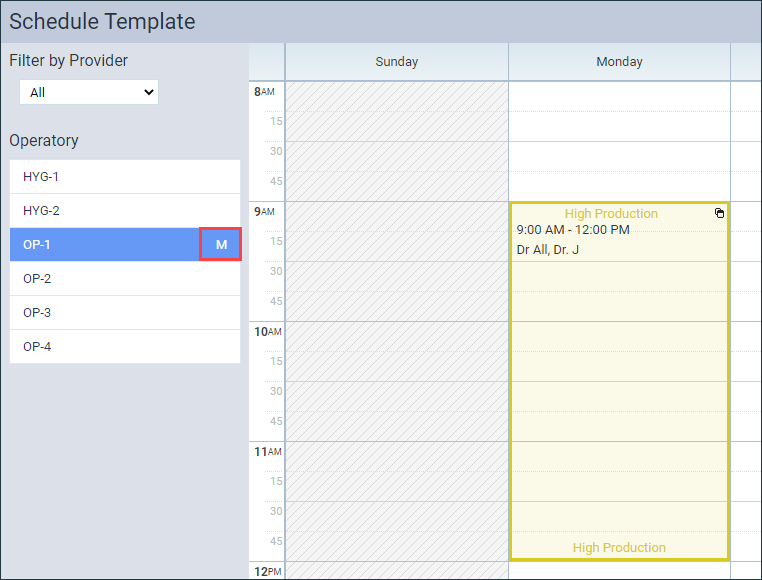
To save time, if you want this high production time slot to appear on other days of the week, you can click the Copy time slot icon to duplicate the time slot and then click on the day and time you want the copied timeslot to be placed. The copy function will also let you copy this time slot to the next operatory.

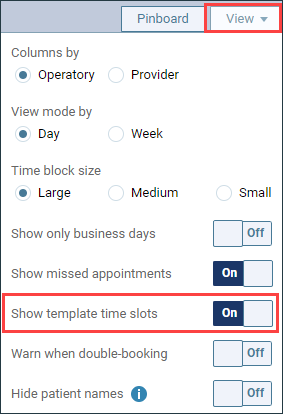
This is how the time slots look in the Calendar. To see them, open the View menu, and then set the Show template time slots switcher to On.
Additional Information
- To manage time blocks for scheduling templates, your user account must have the Review Location Information and Manage Location Information rights. To learn more about managing rights, read Security rights listist in the Resource Center.
- To learn more about creating a scheduling template, read Adding time blocks for a scheduling template in the Resource Center.