
Patients often will not proceed with your best treatment recommendation if they feel they cannot afford it. So, what do you do? There are many ways to approach this problem, including flexible financing and staff and patient education techniques. Many practices find it useful to present the patient with additional treatment options. You can present one treatment plan as the ideal treatment that the doctor is recommending and the second treatment plan as an alternative option with possible consequences that you let the patient know about.
Example: A patient presents with an existing MOD composite on tooth #14, and the doctor diagnoses a periapical abscess and recommends root canal therapy, build-up, and a crown to treat tooth #14. The patient states they lost their insurance and must pay out of pocket and wants to know their options.
How to:
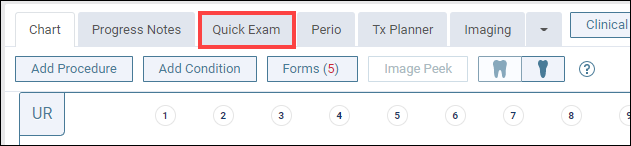
1. While viewing the patient’s clinical record, click the Quick Exam tab.
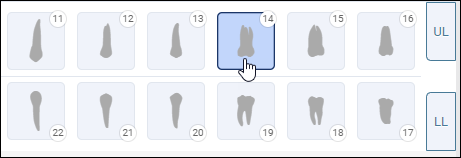
2. Select the tooth on the tooth chart. Select the existing work, condition for the indicated tooth, and the recommended or ideal treatment.
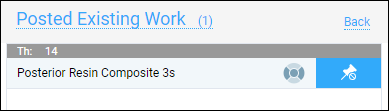
The following image shows the charted existing work.
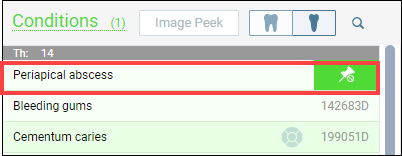
The following image shows the charted condition.
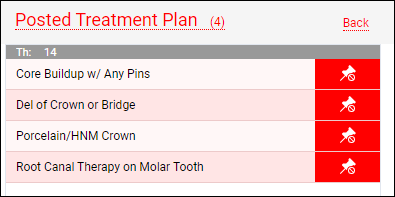
The following image shows the charted recommended treatment.
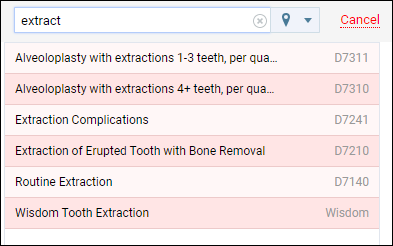
3. If the optional treatment is not listed, Search for and select the optional procedure to include it in the treatment plan.
For this example, search and select an extraction as the optional treatment.
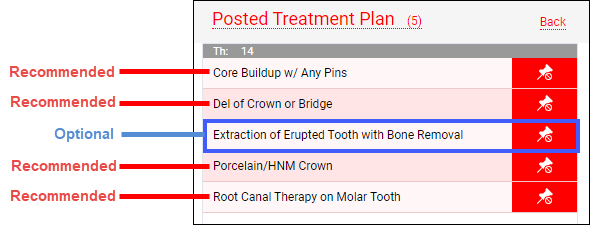
All the options are listed together in the Quick Exam.
3. Click the Tx Planner tab, and then select the Unassigned case in the Active category.

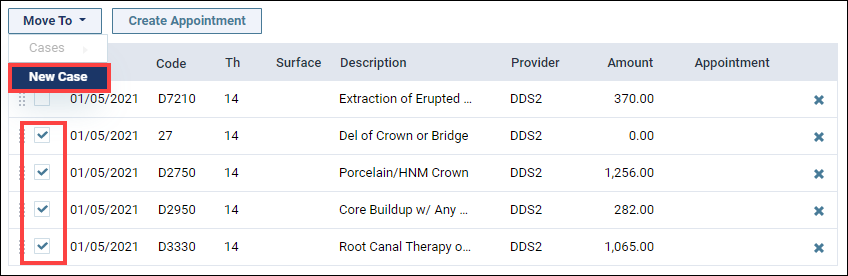
4. Select the check boxes of the recommended treatment. Then, from the Move To button menu, click New Case.
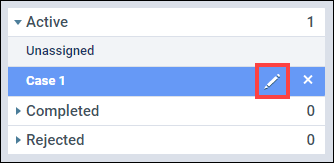
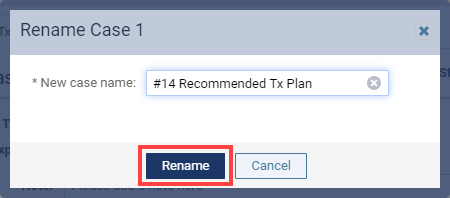
5. Click the pencil icon to edit the name of the treatment plan. Enter the new case name, and then click Rename.
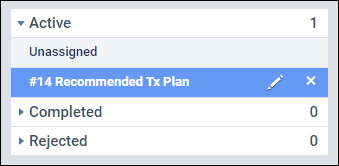
For this example, enter “#14 Recommended Tx Plan” as the new case name.
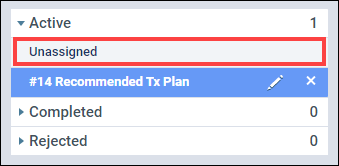
6. Select the Unassigned case again. Next, select the check box of the optional treatment. Then, from the Move To button menu, click New Case.

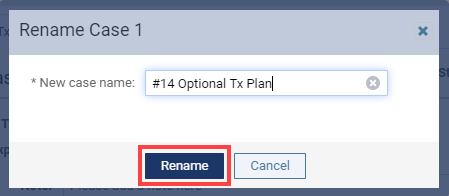
7. Click the pencil icon to edit the name of the treatment plan. Enter a new name for the optional treatment plan, and then click Rename.
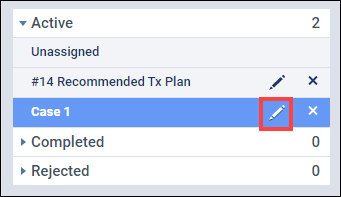
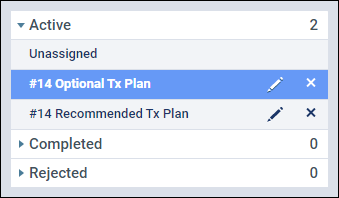
For this example, enter “#14 Optional Tx Plan” as the new optional case name.
Now there are two treatment plans for tooth #14.
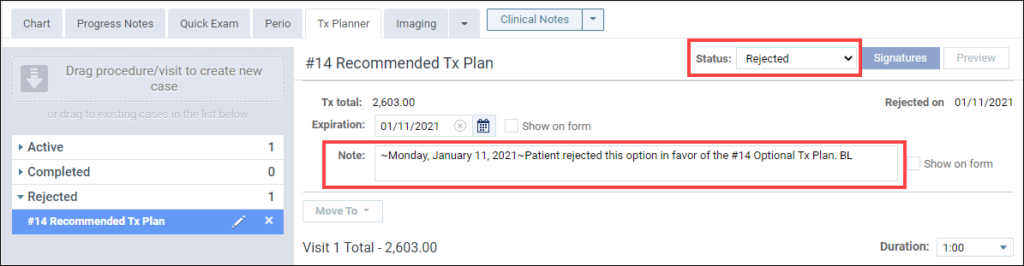
Note: Once the patient has accepted one treatment plan and rejected the other(s), set each to the appropriate Status, and enter a date and note in the Note field.
Additional Information
- You must have Clinical Decision Support turned on for the recommended treatment to be listed.
- You can also add optional treatment to the Clinical Decision Support configuration.
- To learn more about creating treatment plans, read Creating treatment plans in the Resource Center.
- To learn more about using the quick exam feature, watch Quick Exams in the Resource Center.