

Consistency is the key to success. So, when you create a customized clinical note template, to ensure consistency across your practice locations (if your organization has multiple locations), you must know how to distribute them from one location to other locations. The Distribute Selected Templates dialog box guides you through the steps of distributing clinical note templates.
How to:
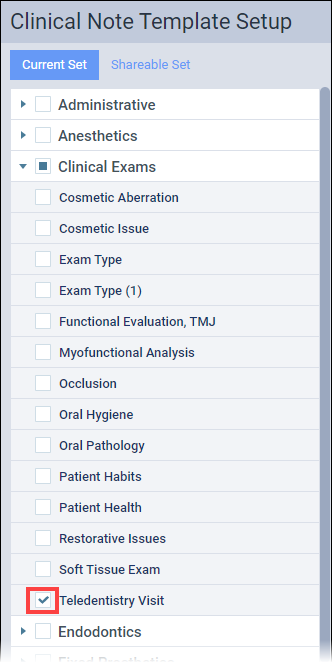
1. Open your Clinical Note Template Setup page (go to Settings > Clinical Note templates).
2. Select the clinical note template(s) that you want to distribute.
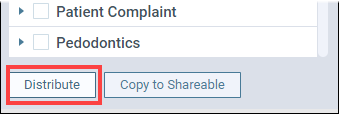
3. Click Distribute. This button is available only if at least one template check box is selected.
The Distribute Selected Templates dialog box appears.
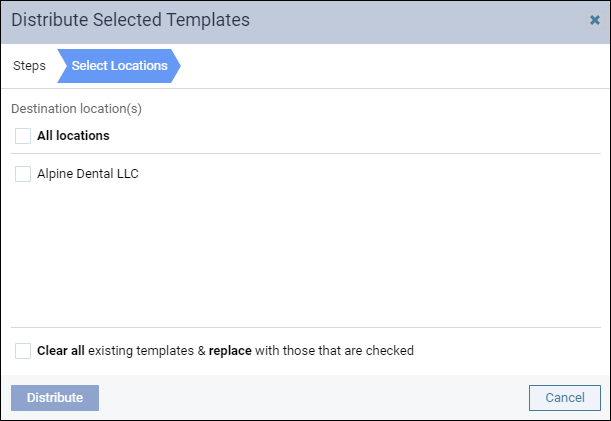
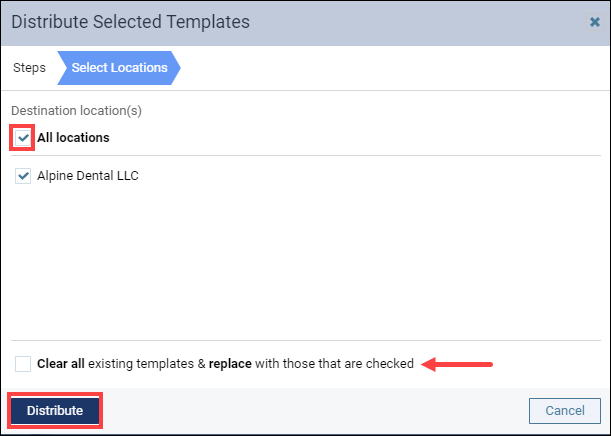
4. Select the location that you want to distribute the selected template to. If applicable, select the option to Clear all existing templates & replace with those that are checked. Click Distribute.
CAUTION: With this option selected, all templates that do not have the same names as the templates being distributed will be deleted from the destination locations.
5. If there are any template conflicts, the Template Conflicts tab appears so that you can choose what to do with the templates. Click Distribute.

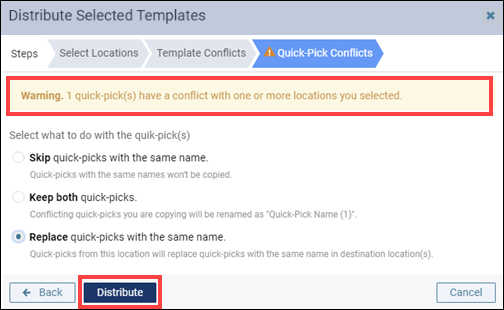
6. If there are additional conflicts, the Quick-Pick Conflicts tab appears to help you resolve any additional conflicts. Then, click Distribute.
Additional Information
- To distribute clinical note templates, your user role must include both the Manage clinical note templates right and the Distribute Clinical Note Templates right.
- You may distribute clinical note templates only to the locations to which your user account has access.
- To learn more about customizing clinical note templates, read Customizing clinical note templates in the Resource Center.
- To learn more about distributing clinical note templates, read Distributing clinical note templates in the Resource Center.