
April 1, 2020
Have you ever been working in the patient’s chart and wish you could look at the progress notes without leaving? In a fast-paced environment like a dental office, having the tooth chart, progress notes, and images together in one view streamlines your workflow and improves your working efficiency. Using the Chairside dashboard saves you time because you don’t have to keep switching tabs while working on a patient.
Efficiency = Chairside dashboard (chart + images + progress notes)
How to:
- Search for the patient and open their chart.
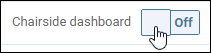
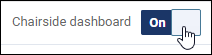
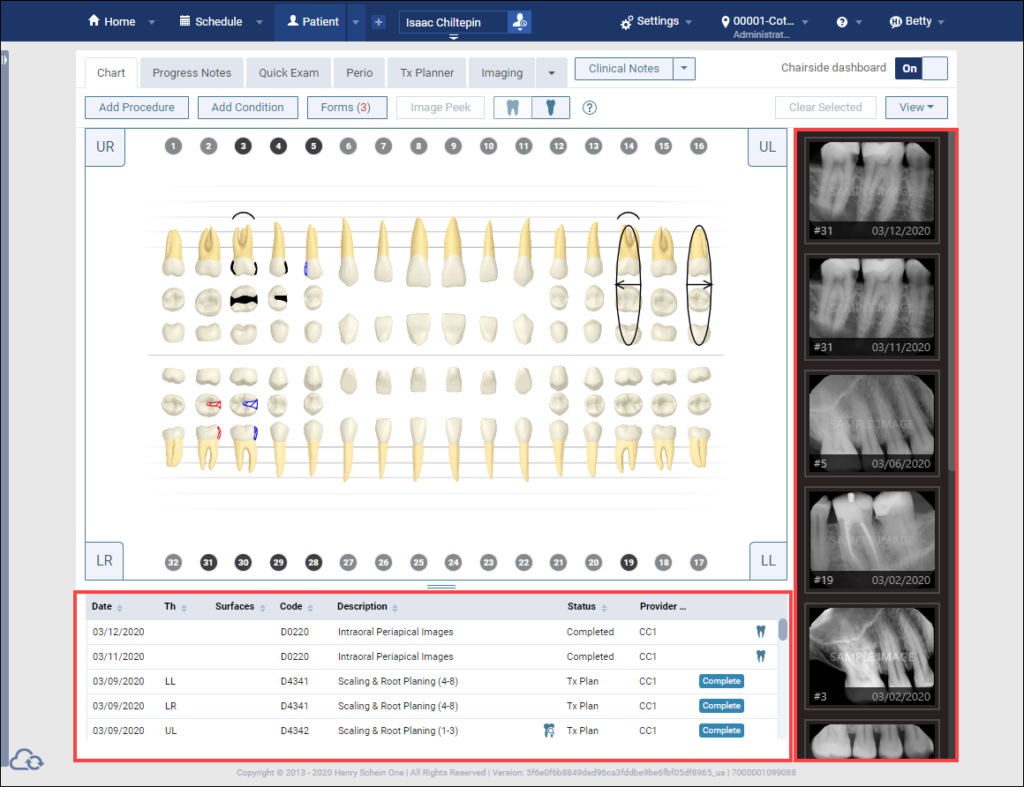
- Toggle the Chairside dashboard switch to On. When you turn on the dashboard, the progress notes panel appears below the tooth chart, and the imaging panel appears on the right.
When you turn on the dashboard, the progress notes panel appears below the tooth chart, and the imaging panel appears on the right.
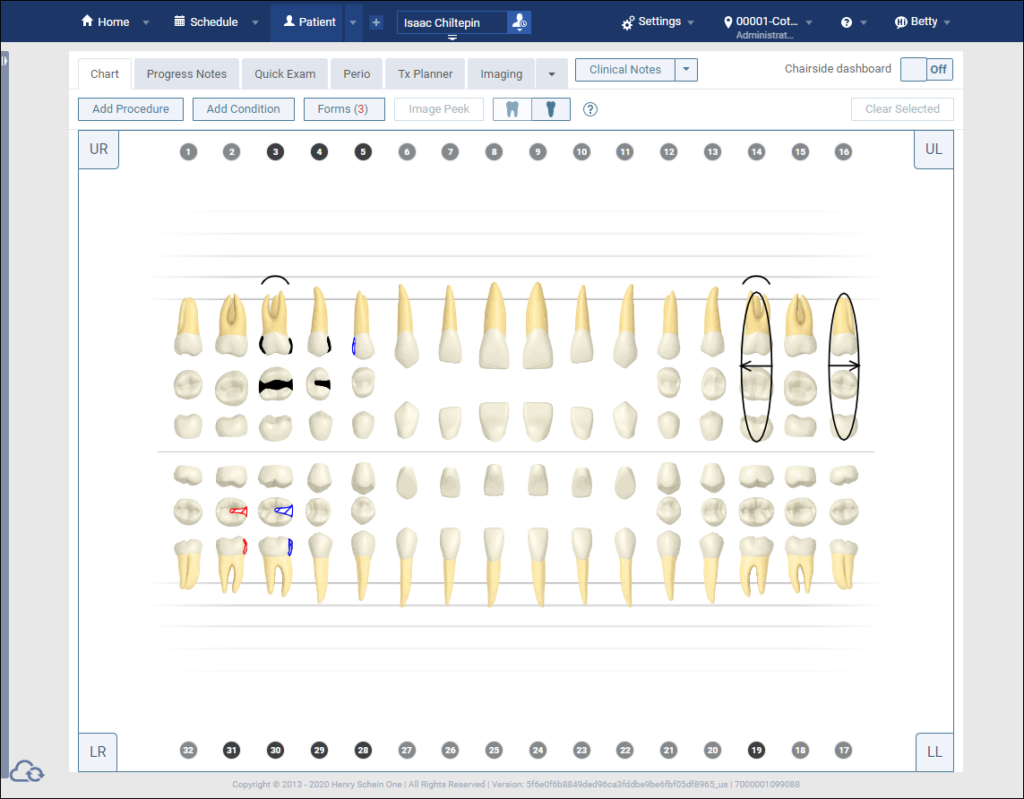
Before
After
- Drag the sizing handle up or down, between the tooth chart and the progress notes, to see more or fewer notes, as needed.
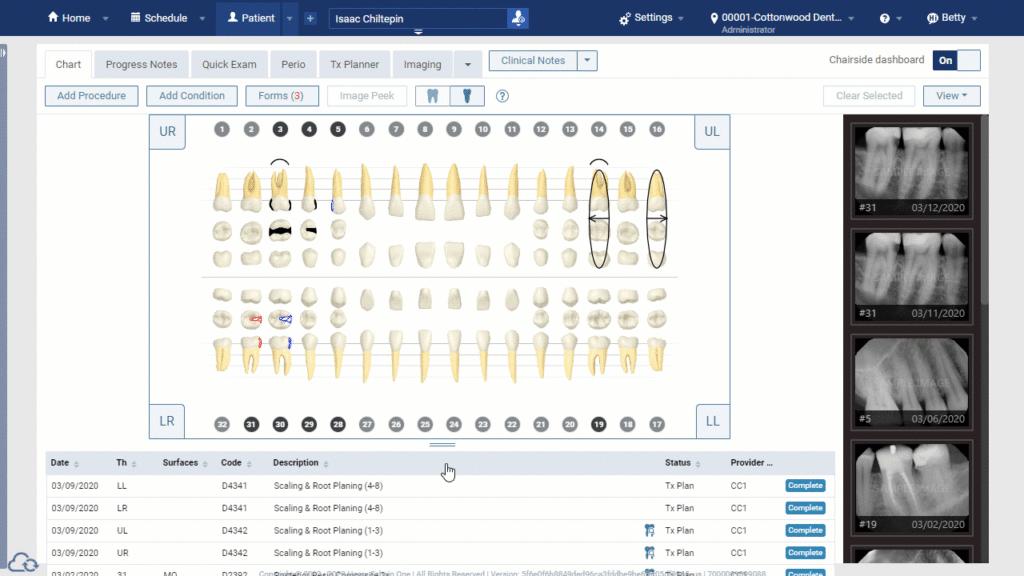
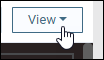
- Open the View Menu to customize the view of the dashboard by applying filters.
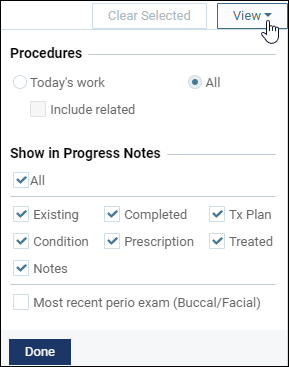
Example:
Select All in Procedures. Deselect All (to clear) Show in Progress Notes and select Tx Plan to see only Treatment Plans in the progress notes along with images in the imaging panel.

Additional Information
- In the chairside dashboard, the progress notes function as they do on the Progress Notes tab. For example, you can sort the progress notes by clicking (or tapping) a column header. Also, you can click (or tap) an item, such as a procedure or a condition, to open the corresponding dialog box.
- Dentrix Ascend remembers the state of the chairside dashboard settings (the visibility; the size of the dental chart and progress notes; and the visibility of a recent perio exam) on your computer (or device) until someone changes them.
- To learn more about the Chairside dashboard, read Viewing the chairside dashboard in the Resource Center.