
The ADA periodically changes recommendations for the treatment area of some codes. Consequently, an insurance carrier may require you to submit a specific treatment area for a procedure code. Dentrix Ascend makes it easy to create custom procedure codes that can be used with a specific treatment area. Let’s look at how to create a custom code where the treatment area is a range of teeth.
How To
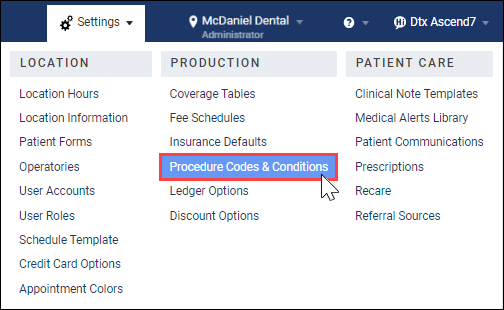
- From the Settings menu, open the Procedure Codes & Conditions page.
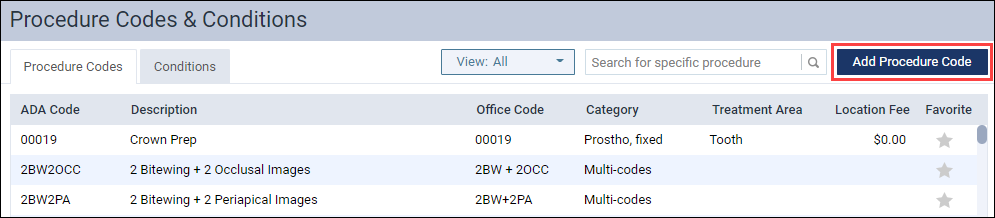
- Click Add Procedure Code.
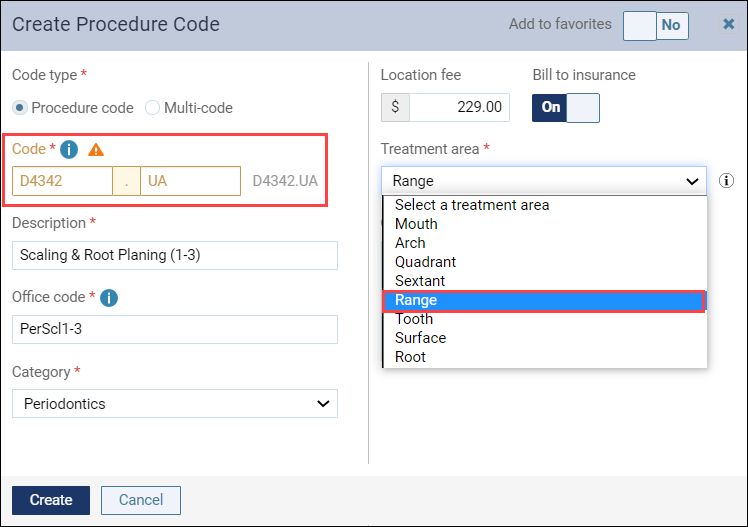
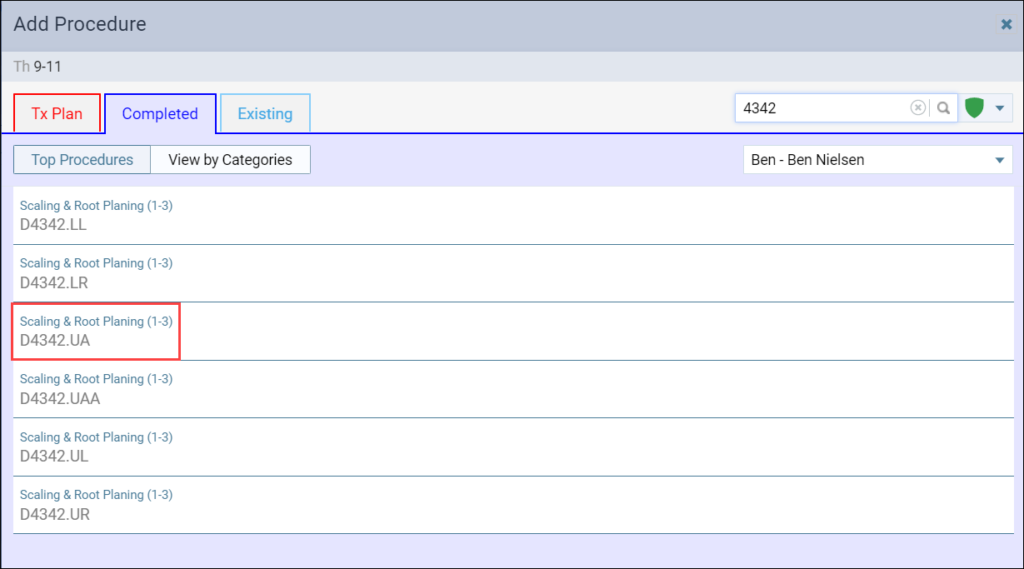
- Enter the name of the code and the other required information. If the code you choose already exists in the database, Dentrix Ascend will prompt you to type a suffix for the code to create an alias code. From the Treatment area list, select Range.
- Now, with a range of teeth selected on the Chart, you can chart the custom procedure code.
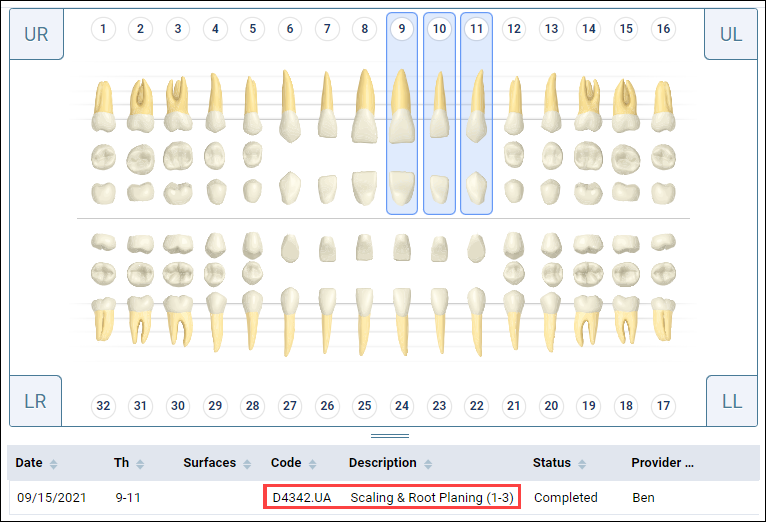
After selecting the range of teeth on the Chart, click Add Procedure and search for the custom procedure code.
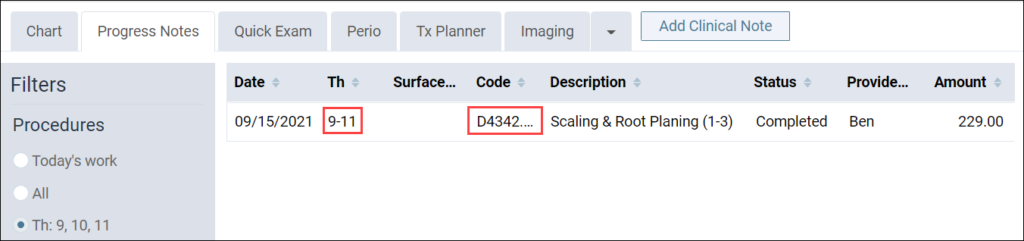
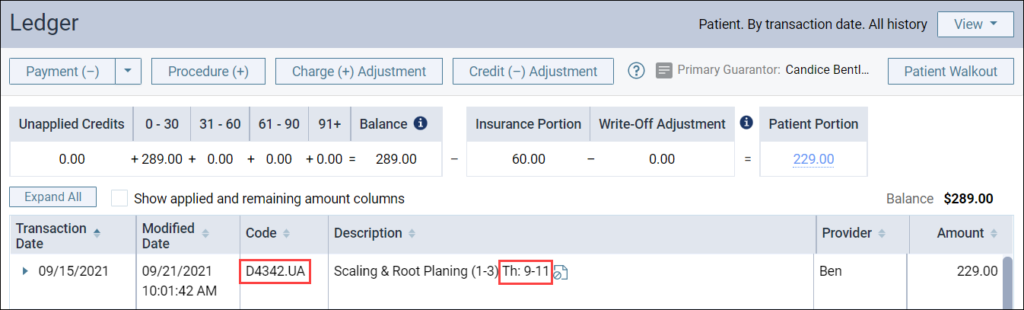
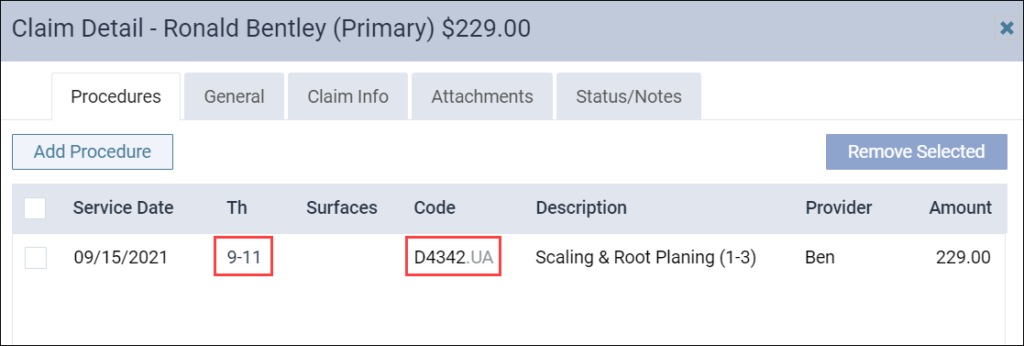
The teeth you select for the range will appear in the progress note, on the patient ledger, and on the insurance claim.
Progress Notes
Ledger
Claim Detail
Claim

Additional Information
- For more information about creating custom procedure codes, read Creating alias procedure codes.
- To create custom procedure codes, your user account role must have the Create procedure code right.
- To edit custom procedure codes, your user account role must have the Edit procedure/condition code right.