
May 13, 2020
Dentrix Ascend can help you avoid awkward situations where the patient shows up for an appointment when the lab case is not back from the lab yet. Many offices like to monitor their lab case report several weeks out to ensure that all lab cases are received early. For each lab case, the report includes both appointment details and lab details. The report also displays a count of the total number of appointments with lab cases on the report.
How to:
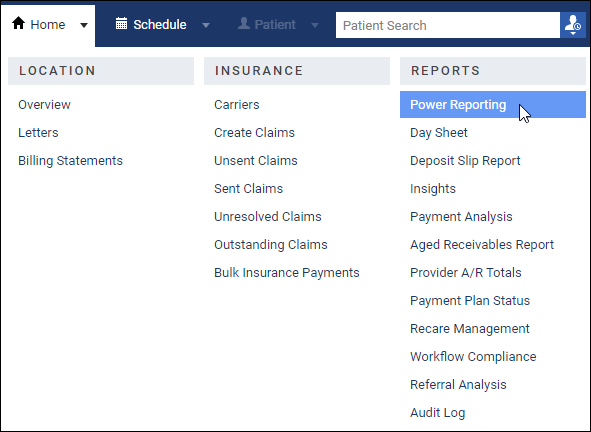
1. Open the Power Reporting module (Home > Power Reporting). Search for the Lab Case – Appointments report by typing “lab” in the Search field and clicking (or tapping) the Lab Case – Appointments icon.
The report appears. As a default, the Lab Case – Appointments Report includes appointments from yesterday, today, and the next seven days.
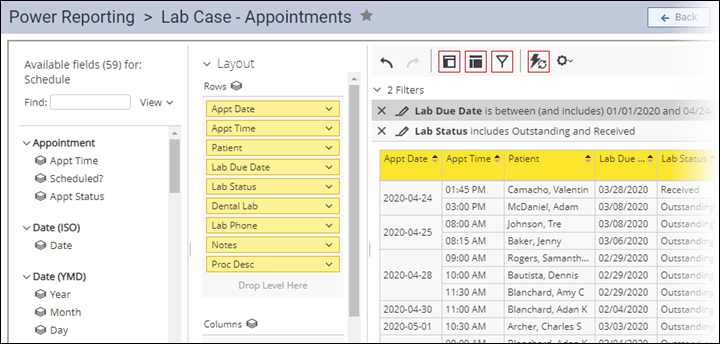
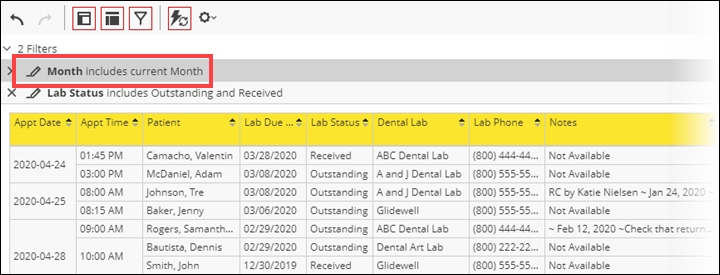
The report shows the status of each case (Outstanding or Received) and several other pieces of information. By default, the cases are sorted by appointment date, but you can sort the report by any of the columns, for example, by the due date or the dental lab. Using the analysis report builder tools, you can add or remove data fields to the layout and modify the filters as needed.
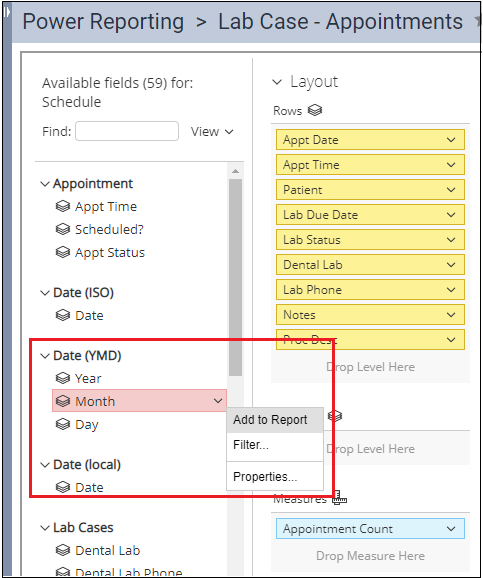
2. Modify the Lab Due Date filter to match the report requirements for your office. For example, you may want to see this entire month. To accomplish this, click (or tap) the dropdown menu next to Month under the Date (YMD) tab on the left-hand side of the page.
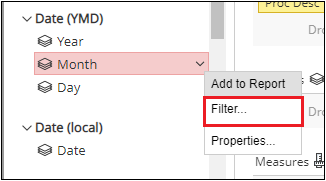
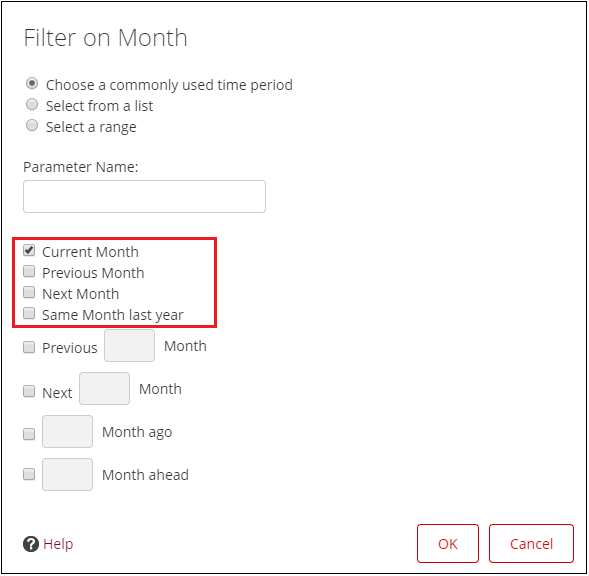
Select Filter to open the Filter on Month dialog box.
Select Current Month, and then click (or tap) OK.
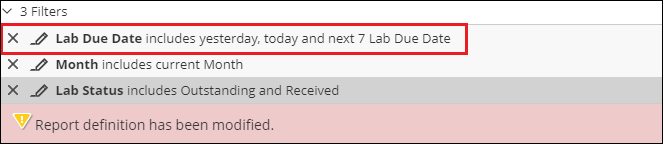
A notification appears to show that you modified the report.

Before refreshing the report, make sure you remove the previous Lab Due Date by clicking (or tapping) the X.
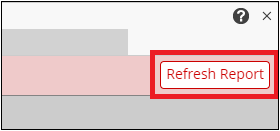
Click (or tap) Refresh Report.
Your new Lab Case Report appears on the page.
One of the strengths of power reporting is that, once you customize a report to be just what you want, you can save it so you only have to customize it once.
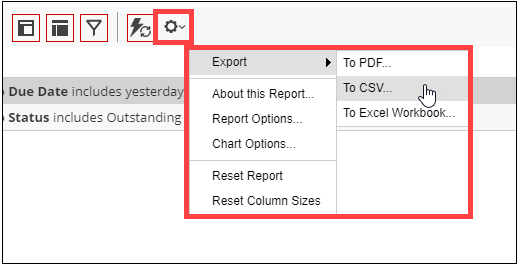
3. To download the report as a .pdf, .xslx, or .csv file , click (or tap) an Export option from the More actions and options button menu. Then, you can share or print the report.
Additional Information:
- To learn more about the Lab Case – Appointment power report, read Lab Case – Appointments Report.
- To learn more about power reporting in general, read Generating custom reports.
- To learn more about the reporting fields included in the Lab Case – Appointment power report, read Understanding the Schedule/Recare reports.